Everyone loves to dump on Javascript because of stupid things like [] == ![]; // -> true. Some languages are much better at this. But PHP is not among them. I found the following not quite what I would have expected:
I had a database corruption event happen in a Docker container, one result of which was that the container was completely wedged and unusable. I spent a lot of time removing containers and images and recreating them, only to have the same problem. In my case, the symptom was I’d create a new MySQL database, and operation would be fine, until part way through a bulk data import or heavy query, and the database would crash and the container would get into an unusable state again. Docker didn’t yield anything in the log, but MySQL showed corruption:
2024-11-27T22:35:38.182396Z 8 [ERROR] [MY-013183] [InnoDB] Assertion failure: os0file.cc:2899:dir_fd != -1 thread 140305764447808
InnoDB: We intentionally generate a memory trap.
InnoDB: Submit a detailed bug report to http://bugs.mysql.com.
InnoDB: If you get repeated assertion failures or crashes, even
InnoDB: immediately after the mysqld startup, there may be
InnoDB: corruption in the InnoDB tablespace. Please refer to
InnoDB: http://dev.mysql.com/doc/refman/8.0/en/forcing-innodb-recovery.html
InnoDB: about forcing recovery.
2024-11-27T22:35:38Z UTC - mysqld got signal 6 ;
Most likely, you have hit a bug, but this error can also be caused by malfunctioning hardware.
BuildID[sha1]=511ab47ad6d5dfd73d58eea5860b1c9c9a97ce07
Thread pointer: 0x7f9ad4000fc0
Attempting backtrace. You can use the following information to find out
where mysqld died. If you see no messages after this, something went
terribly wrong...
stack_bottom = 7f9b7b3febc0 thread_stack 0x100000
/usr/sbin/mysqld(my_print_stacktrace(unsigned char const*, unsigned long)+0x41) [0x15af021]
/...
Once this problem occurred in a container, the database wouldn’t be start-able, often complaining about being unable to update permissions on /var/lib/mysql/mysql.sock.
Eventually, with much futile searching, I found this posting and switched Docker Desktop away from using VirtioFS to using gRPC FUSE for sharing the filesystem between the container and the host machine. This seems to have resolved the issue. I can load big databases again, and heavy transactions work in my development environment again.
My cousin sent me a box of old photos that she had inherited from her mother. It turns out that my mother and her mother would send photo albums to one another throughout the late 1960s and into the early 1980s.
Many of these pictures are interesting to me, and I’d like to digitize them. The average online service wants between $0.65 and $1.25 to scan a print without doing touchup. I’ve used services to scan negatives in the past, but I have an old phot scanner and I have digital cameras that I could use to take photos of the prints.
The prints are degraded to various degrees and many are not really flat, so my first thought was to put them under glass and photograph them. I set up a rig to do that, but it was pretty finicky. Lighting to prevent reflections isn’t easy (I’m space-constrained by boxes of old junk in my office). The prints are many different sizes, and positioning each one took a lot longer than I wanted to spend on it. I don’t really need these in 12 or 24 megapixel detail, plus my macro lens is old and introduces some distortion.
So I decided to use my old Epson Perfection Photo 3170 from … ulp … 20 years ago. It’s USB-A and my current M1 MacBook only has USB-C ports, but I have plenty of USB-A to USB-C adapters for this kind of situation. I plugged the scanner into my M1 MacBook, but it was not recognized. I downloaded a new driver from Epson, but it wouldn’t install, giving me the helpful message “You can’t open the application “EPSON Scan Installer” because this application is not supported on this Mac.” Is that because it’s Intel code and I can’t run drivers in emulation? I have no clue.
I tried downloading VueScan, which is widely recommended for scanners where the driver is no longer provided, but it couldn’t see the scanner either. Mysterious. I’m beginning to think it’s something to do with the hardware itself. It used to work. Had the scanner died from sitting neglected?
I dug through one of those aforementioned space-constraining boxes of junk, and got out my Intel-based MacBook Pro from 2011. I powered it up, plugged the scanner in, and Image Capture immediately recognized it. So I’m scanning on the old machine.
Image Capture under old Mac OS is a little annoying, but I can scan 4 photos at a go into 32-bit TIFF files. I’m only scanning at 600dpi, so I’m getting roughly 6 megapixel scans of these photos. I considered scanning at a higher resolution, but the time and effort and storage involved didn’t seem to be worthwhile. I may regret this someday.
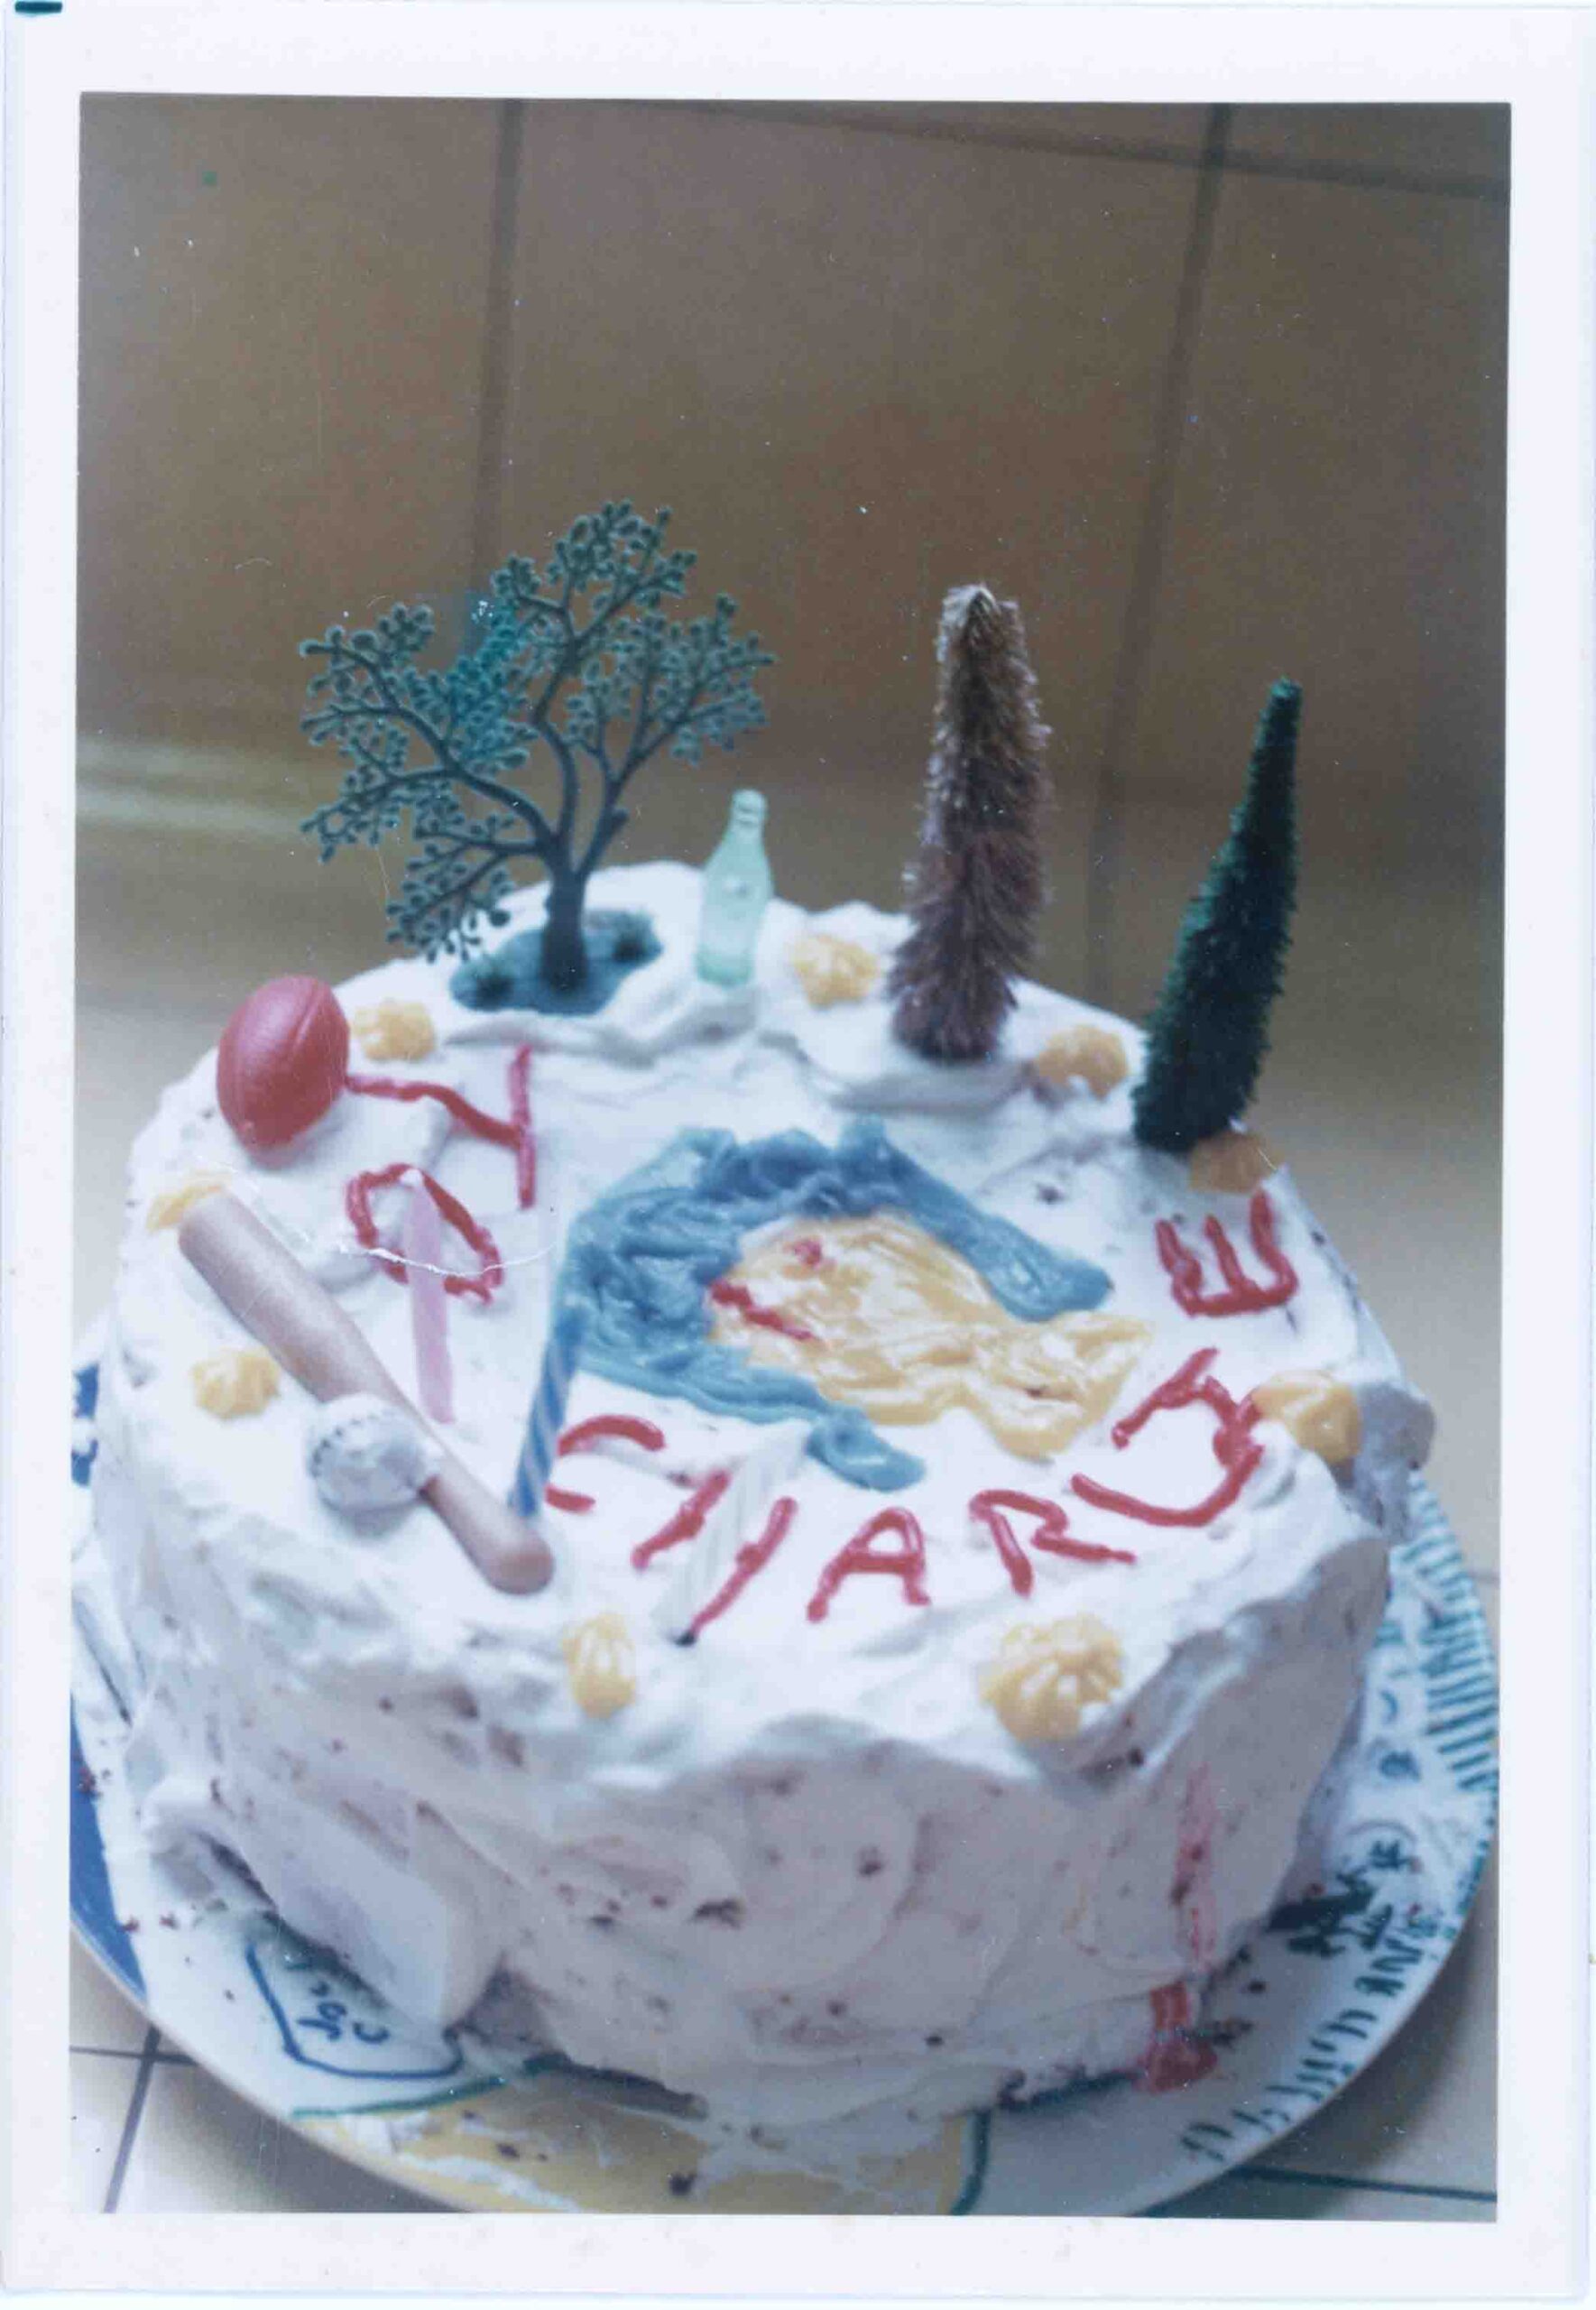
Anyway, here’s a birthday cake I decorated for my best friend Charlie back in March of 1978.
There’s gotta be a better way. But after a horrible upgrade process for a horrible commercial open-source product, I need to see which sub-directories from the old installation are missing in the new one. Don’t ask. I’ve literally been having nightmares about this upgrade.
Anyway, given tree1 and tree2 under some common point, I want a list of directories that exist in tree1 and don’t exist in tree2.
Here was my clumsy way of solving the problem.
cd tree1
find . -type d -print | sort > ../dirs_old
cd ../tree2
find . -type d -print | sort > ../dirs_new
cd ..
comm -23 dirs_old dirs_new
So your site was using too much bandwidth, and you converted all those animated .gif images to .webp using the WebPShop plugin.
But how many bytes have you actually saved? The command line will tell you:
ls -l *.gif | awk '{ print $5 }' | paste -sd+ - | bc
ls -l *.webp | awk '{ print $5 }' | paste -sd+ - | bc
Of course, this assumes that all the files in the current directory are the images and their conversions, and there aren’t a bunch of other files with one of those extensions. If that’s not the case, you’ll need to be more specific than *.extension in the ls command.