Maccabeam™ Part 6: Final Project Gallery
Previously:
Introduction
Part 1: Simulating candle-light with pseudo-random sequences
Part 2: Some physical structure
Part 3: When Exactly is Hanukkah?
Part 4: A Typical Programming Problem
Part 5: Oil and Lasers
So here we are, six days away from Hanukkah, and the first build of the Maccabeam™ is complete!
Below is video of it running, and a general build gallery. But before that, here are some thoughts and lessons that will go into Version 2 (and/or a kit, if that ever happens).
I build things the old-fashioned way. Everything’s soldered onto a breadboard with finicky little wires (I used wire-wrap wire, since it’s fine and easy to twist around). While this is fine for prototyping, it’s not great for a finished product. I need to learn to use a design app, and have printed circuit boards made.
A printed circuit board would make the positioning of the LEDs better, too. I bought the LEDs on a long strip, which I then cut and wired together. If I used surface-mount LEDs, I wouldn’t have to worry about the width of the strip and making each little segment fit in the channel. It sounds simple, but in the corner areas, it got congested.
The next design won’t just use a printed circuit board. It will also use standard connectors so the disparate parts may be added and removed easily while building.
Back to the LEDs. The decision to put the LEDs behind a layer of frosted acrylic to make the light more diffuse may not have been the right one either. When the “marching ants” animation is running to indicate the shamos lighting the other candles, the diffuse light bleeds over into the neighboring star-shaped windows, disrupting the flow of the animation a little.
The physical hanukkiah, all the laser-cut wood, works well, but it makes access to the internal components very difficult. The screws hold it together, but there’s enough play in the screw-holes that I supplemented with hot glue. When I had to replace one of the laser diodes that burned out, I had to tear the whole thing down. The next design should be more maintainable.
Speaking of lasers, the inexpensive laser diodes I purchased online are not really very good. The brightness varies dramatically! Now, they’re representing candles, so the variation is not a show-stopper, but the dimmer lasers are not bright enough for a well-lit room. You can see this in the video below.
I didn’t write about how I programmed the “music.” To make a long story short, I found sheet music of “Hanukkah Oh Hanukkah” online. Using the Wikipedia article on reading music, I translated the sheet music into the notes. The LCD display has a small piezo-electric speaker on it, and you can play notes by sending special codes on the serial lines to the display. So I took the notes, and translated them into those codes. It’s what the kids call chip-tunes, but perhaps next time I’ll go for the Teensy audio board, and play a stereophonic MP3 off of a memory card.
Another thing I didn’t write about was simulation mode. When the silver switch on the left is thrown to the left, the circuit gets time and date from the GPS unit. But I couldn’t wait for Hanukkah to test my code! Given the number of bugs found and fixed during development, it would have taken me several centuries worth of Hanukkahs to get it right. Therefore, I implemented a simulation mode. When the switch is to the right, we magically locate ourselves in Jerusalem, and set the time just before sundown on the 24th of Kislev. This allowed me to endlessly watch Hannukah arrive, and get the animated displays to my satisfaction.
Anyway, the results are below! We’ll see if it’s satisfactory in just a few days…

Lasercut template 
Pile o’ parts 
Organizing 
Parts in position 
Stacking layers 
More layers 
Tentative LED placement 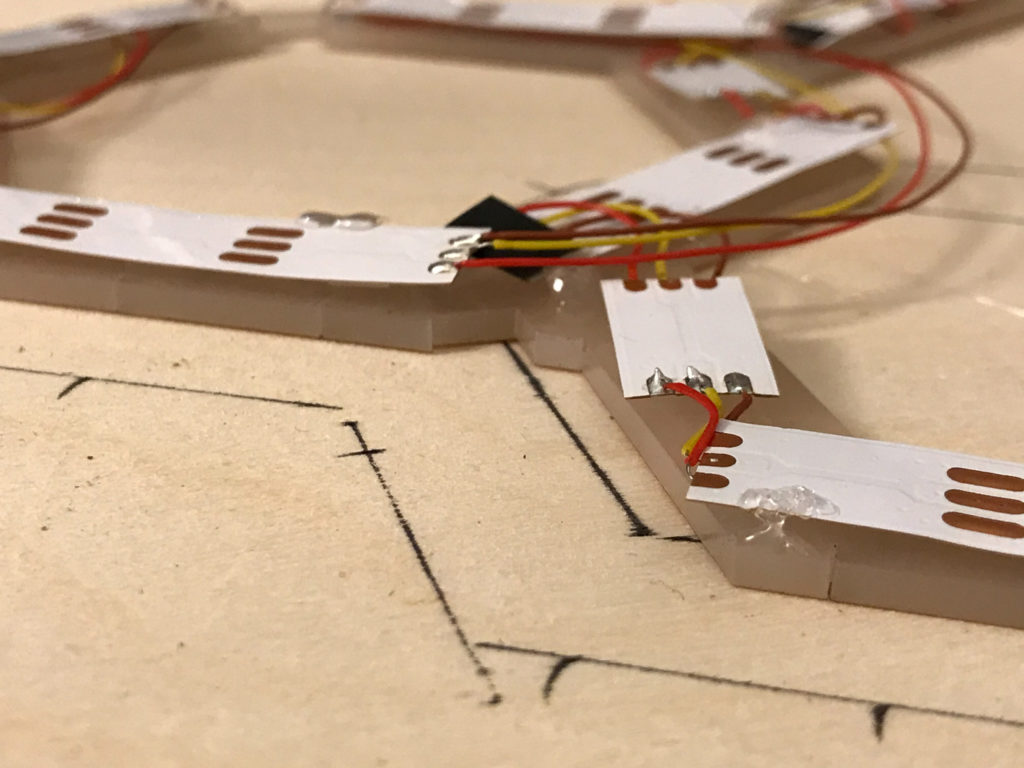
Connecting LEDs 
More LEDs 
All the LEDs 
Test LED placement 
Trying to get the wires right 
LEDs on the diffuser 
First light! 
Lasers in place 
Positioning lasers 
Running laser wires 
More laser wires 
That’s a lot of wires 
From the business end 
Original circuit prototype 
Migrating to breadboard 
Connecting them up 
Assembling 
Rat’s nest of connections 
Ready to seal up 
“Candle” vials of oil and beads


