Firewall
We were in the middle of watching a streaming TV show / SAG Award nominee, when the spinny wheel started up and the “TV” computer popped up a “network disconnected” message. I figured our new Frontier Fiber had disconnected, but the lights all looked good. Next to it, though, the Netgate firewall appliance had an angry blinking red LED. I plugged in a serial cable. Not good!
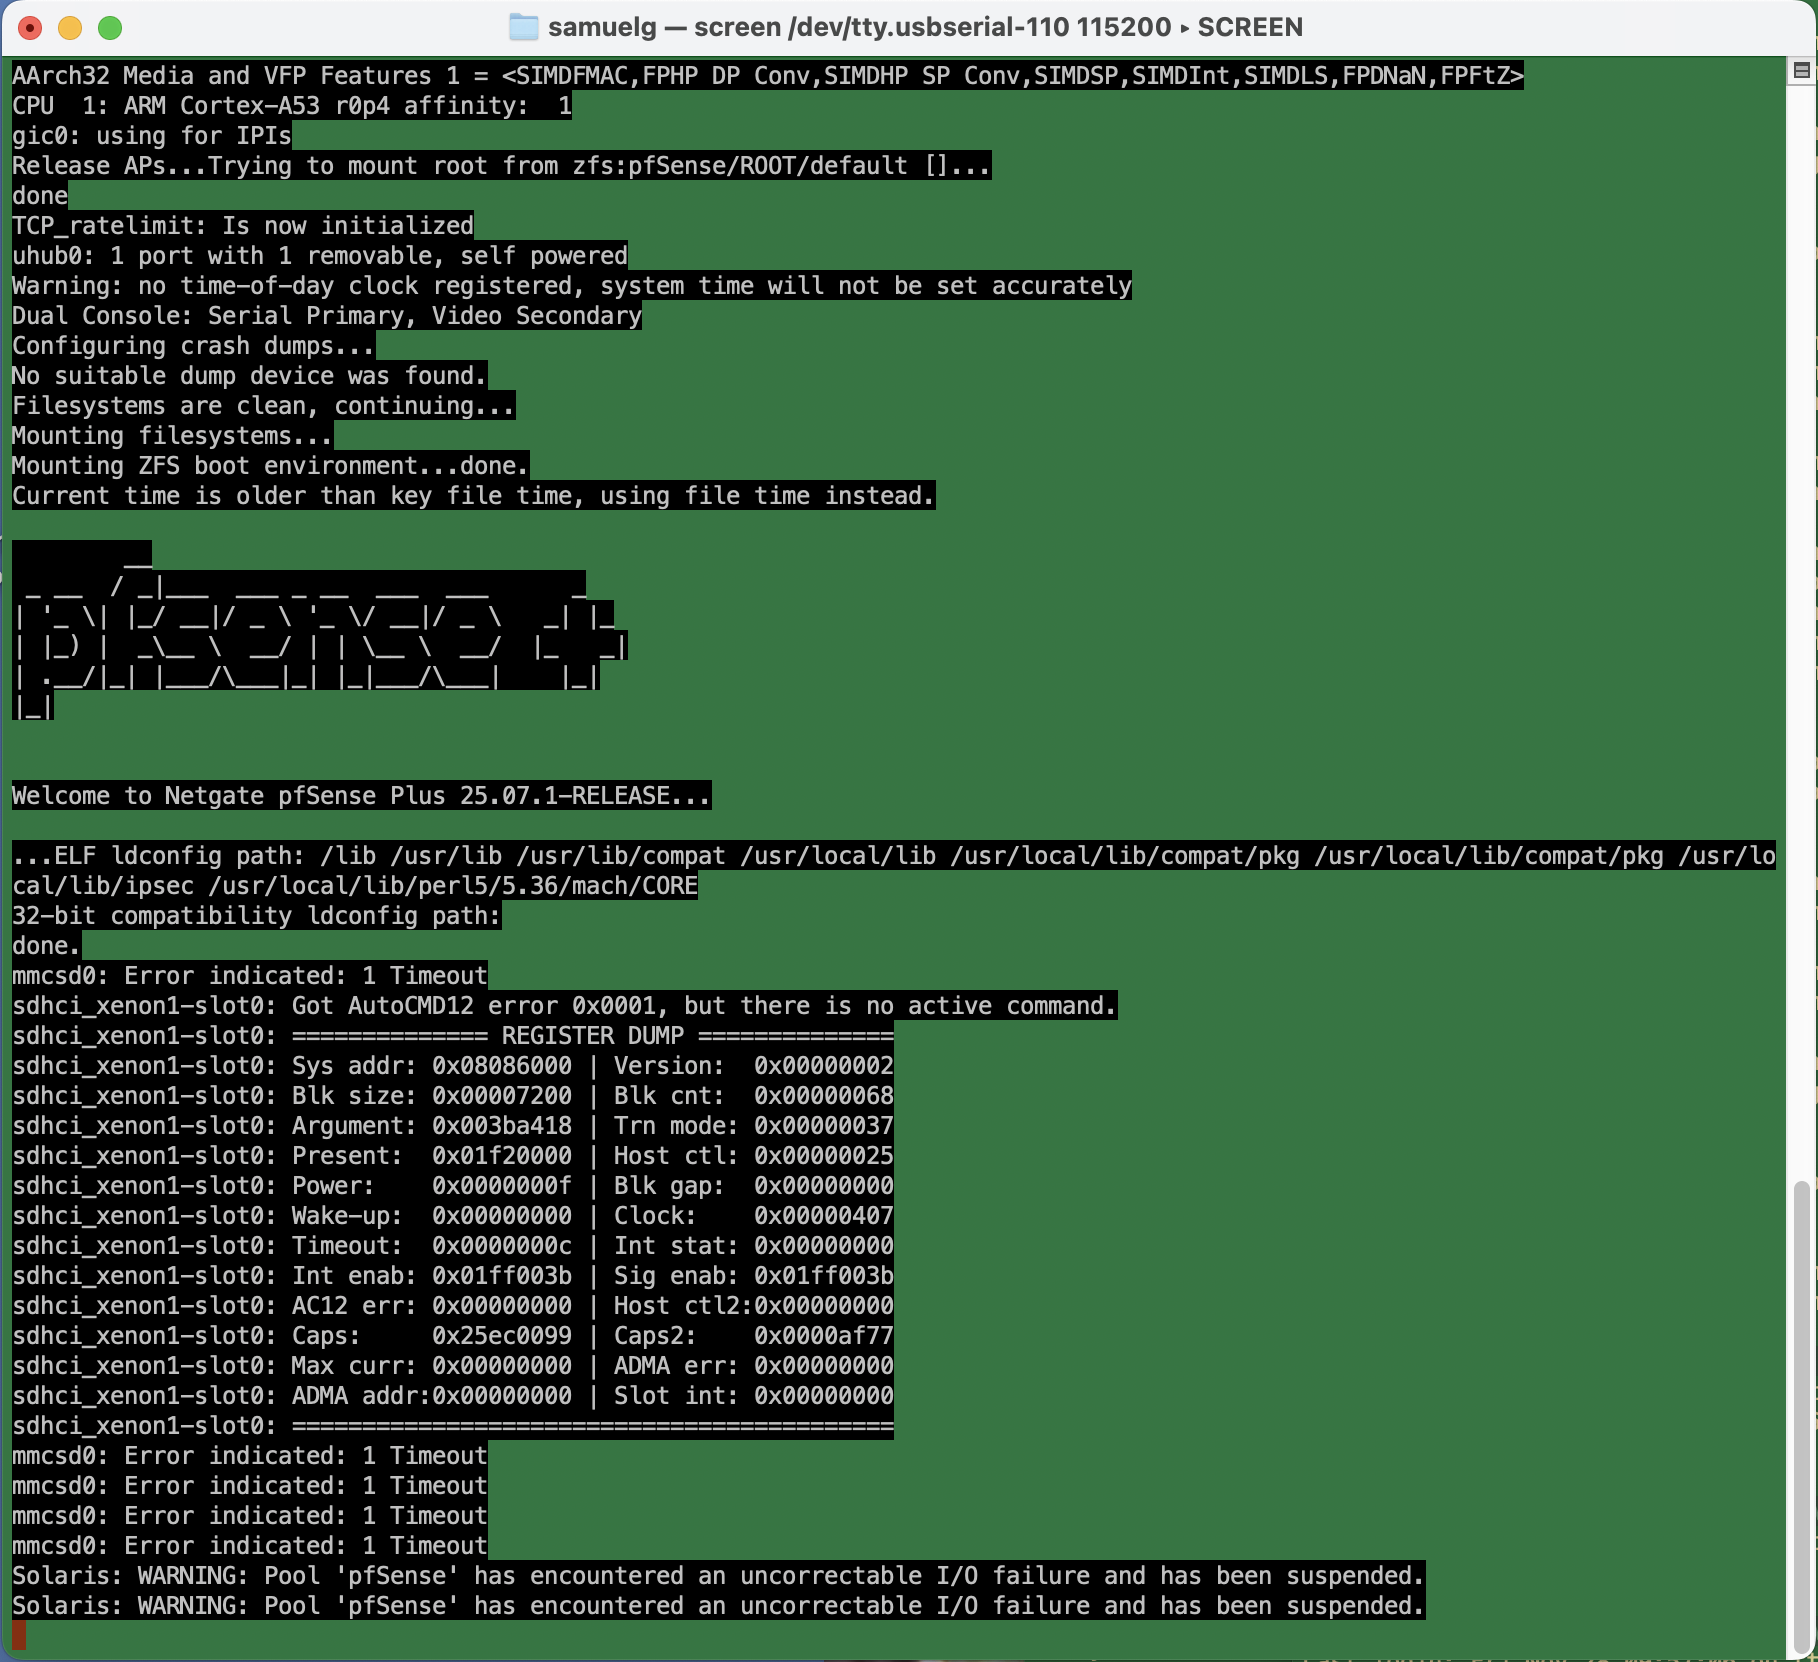
Uncorrectable I/O failure? Hm. This turns out to be an actual physical hardware error.
I’d bought this appliance before the start of the pandemic, so it was about six and a half years old. Shortly after I bought it, there was all sorts of drama with the company behind pfSense (not linking, but you can search) which made me wonder how trustworthy the whole thing was. And just a few months ago, when I ditched the cable modem for a fiber connection, the device had corrupted its entire configuration during a routine software update, and stupid-stupid-stupid … I hadn’t kept a recent backup of the config.xml. So I’d just been through the whole reconfigure process, which requires a hidden trick for VLANs on that specific device that’s not required on other hardware configurations, and which kept me befuddled for many hours more than I’m willing to admit.
The storage RAM on the SG-1100 is soldered on, and it’s beyond my ambition to try to replace it. Instead, I ordered a new piece of hardware.
On this new device, I figured I’d try the OpnSense fork of the firewall software on the assumption that I’d be mostly familiar with it. Well, that’s partly true. The web-based configuration is reorganized. Some things require fewer steps, but they weren’t immediately obvious to me. Dammit Jim, I’m a code monkey, not a network engineer.
Anyway, I spent today restoring my network. It’s not all that complicated. I have a LAN, an isolated guest network, an isolated “internet of things” network, and VPN access from outside, all with special sets of rules to allow or prevent access, depending.
It was pretty smooth. A few gotchas that tripped me up whether reasonable or not:
ddclient. I use this for pushing my dynamic IP address to the primary DNS provider for a domain, so I can have name-based access to the home network. It kept failing. Eventually, I had to log in to the firewall, and manually edit the configuration file to place quotes around my password. There’s probably some vulnerability in there if it’s passing unescaped strings to the command line — although you already need credentials to get to the interface that would allow it.- Firewall rules in OpnSense have a “direction” which I don’t remember in pfSense. So when I want to firewall off connections from the Guest network to the LAN, for example, I have to put an “inbound” rule on the Guest network blocking the traffic. “inbound” means that the traffic is blocked when coming to the firewall (I had foolishly thought it was “outbound” to the LAN network). Since rules are specified on interface, network, and can specify both source and destination, I’m not sure why direction is required.
- I created and deleted a VPN instance early in the process. There’s still a tab in the firewall rules area, and automatically generated firewall rules for it, even though the instance has been deleted and has no interfaces. I don’t think it’s a big deal, but it’s confusing.
- So. many. DHCP. options. There’s the default “Dnsmasq DNS & DHCP”, there’s also “ISC DHCPv4” and “ISC DHCPv6”, and “Kea DHCP.” For my little network, I could do everything in the default, just creating separate DHCP ranges for each interface.
Setup wasn’t so bad. I’ll doubtless gripe here if things don’t work the way I want them to.