I keep all my old scanned records in encrypted APFS disk images, one disk image per year. I do have my Mac filesystem encrypted too, which protects against unauthorized access if the machine gets lost or stolen. However, by keeping these records on encrypted disk images that I only mount when they’re in use, I add a bit of protection against rogue software exfiltrating the data.
It’s probably absurd to use this kind of protection for simple stuff like old utility bills, but a little paranoia can prevent a large headache, as the saying goes*.
Today, I wanted to look at an old file, and was getting “Permission denied” errors from the Preview app. Looking at the file information from the finder (and then from the terminal) showed permissions were fine. I tried double clicking on the file, and got the permission denied message — including the name of a different file than the one I was trying to open. [o.shit.emoji]
I ran Disk Utility’s “first aid” on the image, and that said everything was fine, but I continued to get the error. I ran fsck_apfs on the image too (specifically, hdiutil attach -nomount /path/to/my/file and then fsck_apfs -y /dev/disk6s1). That’s probably what Disk Utility was doing under the hood, but I figured I’d try it anyway. Same error.
Then I said “[bleep] it!” and rebooted the system. Mounted the disk image, and everything’s fine. Computers suck 🙁
Every time this happens, I get confused and lost, and have to rediscover the solution. So here’s a note to future self.
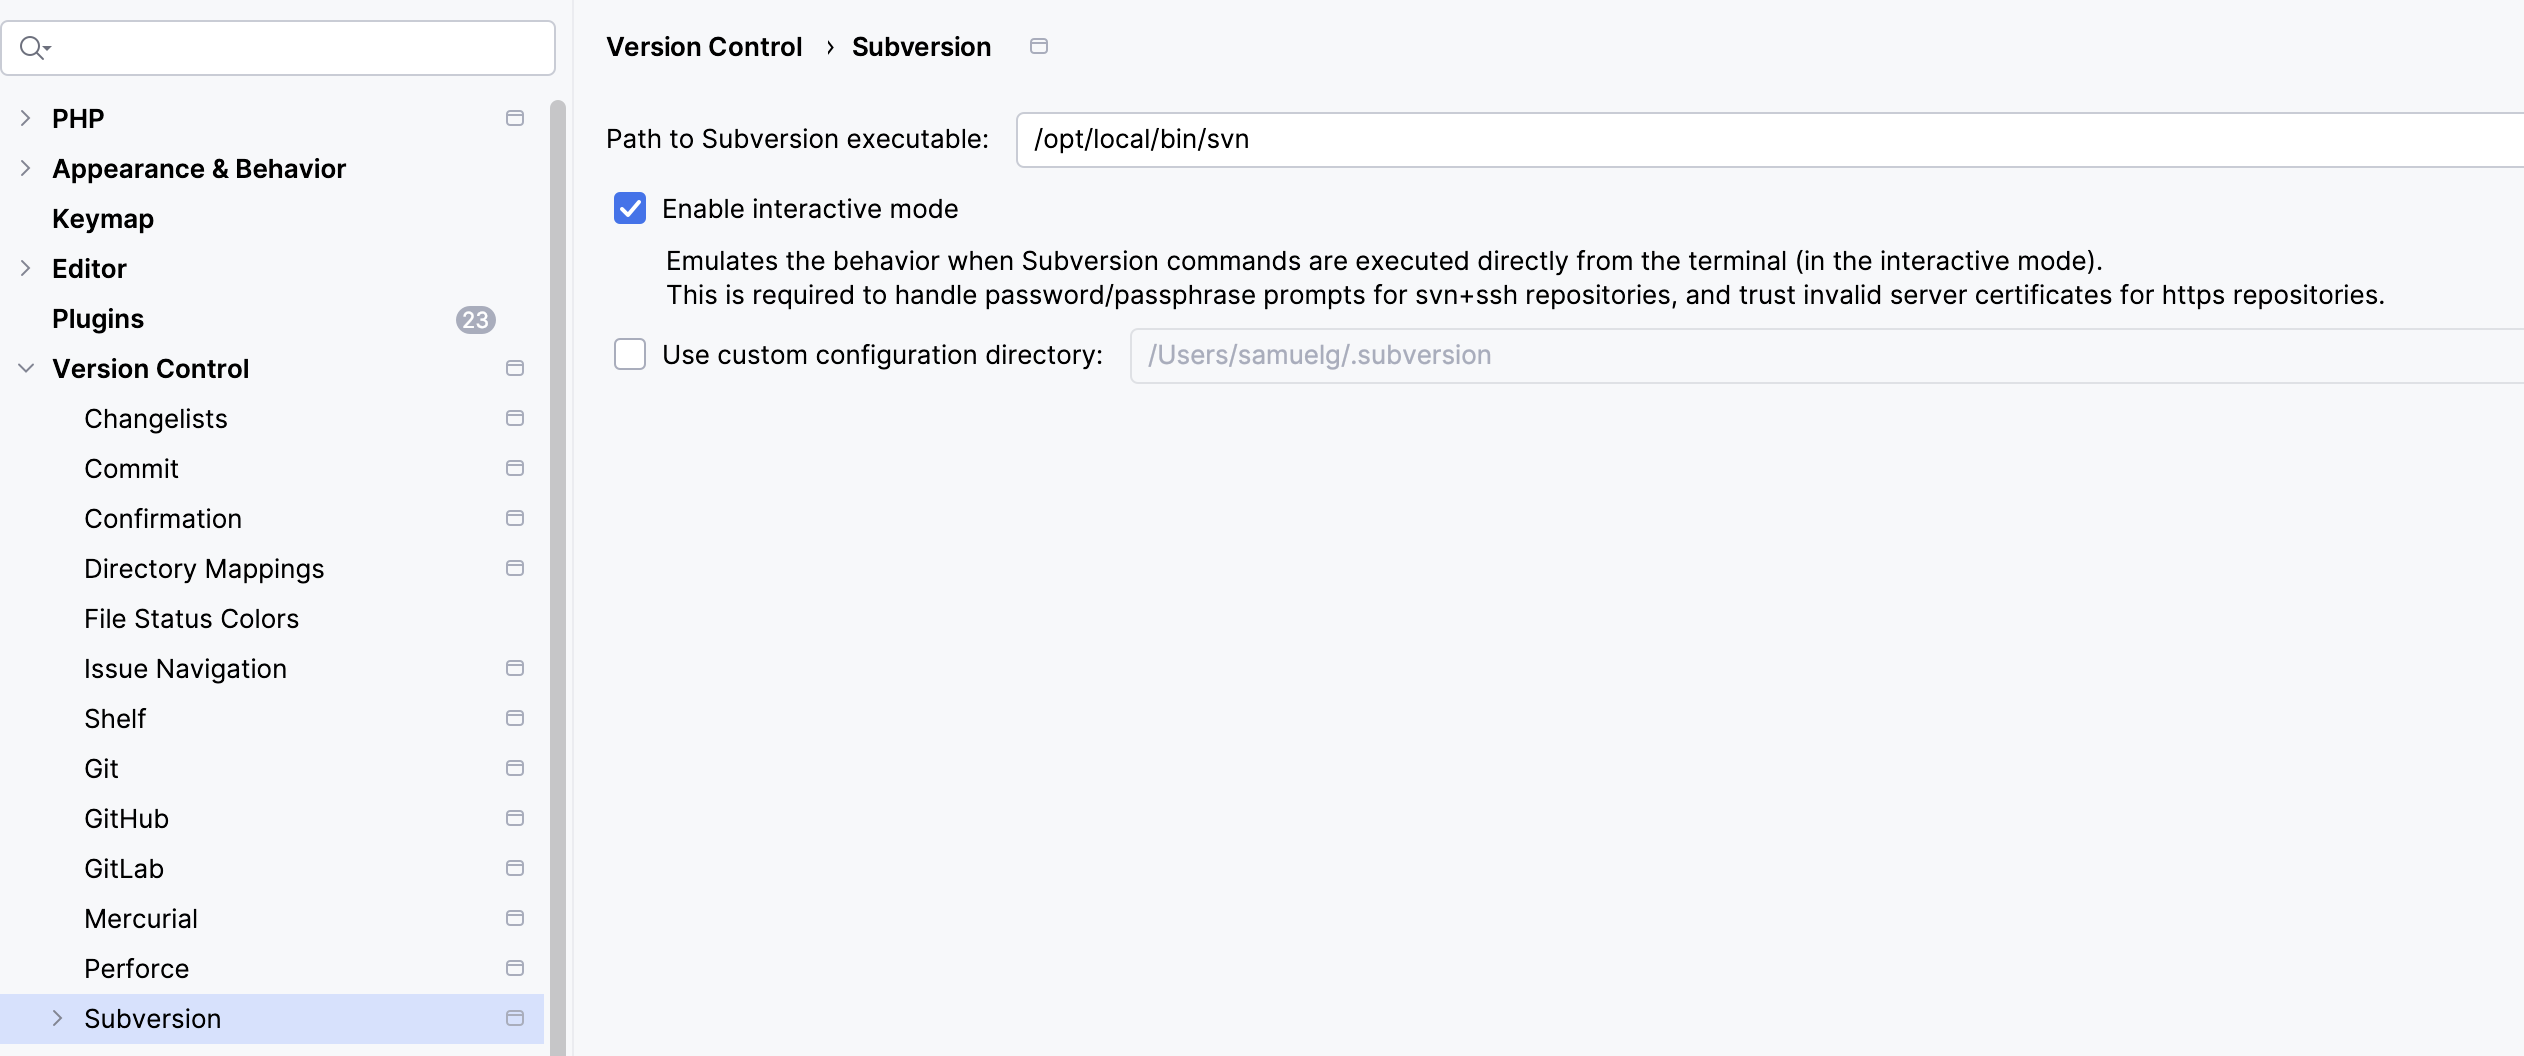
Symptom: PHPStorm stalls on an SVN update, and sits there doing nothing. Network is OK. SSH into server that supplies SVN, watch the WebDAV logs, and there’s nothing even trying to talk to it.
PHPStorm is configured to use an external Subversion client.
Solution: Don’t (necessarily) go and mess around with the settings for PHPStorm. Open a terminal, go to the working set in question, and do an “svn up” from the command line. This is where you’ll discover that SVN has either identified the server certificate as expired or updated, and it’ll ask you to approve the certificate (in that latter case). Log in with your credential again. Now it’ll all be OK again.
I keep some directories synchronized between my notebook and desktop with rsync. After upgrading my desktop to Mac OS 15.4.1, I started getting errors:
[sjg@BigThud 2025-04-21 13:01:05] ~/Documents/Backup
$ rsync -auP . sjg@10.3.2.xx:Documents/Backup
(sjg@10.3.2.xx) Password:
rsync: failed to set times on "/Users/sjg/Documents/Backup/Whatever": Operation not permitted (1)
On the desktop, I look again at Documents/Backup/Whatever, and the permissions are fine. What gives?
To make a long story short, something in the latest update on the desktop changed sshd‘s full disk access permission. Looking at System Preferences > Privacy & Security > Full Disk Access, sshd-keygen-wrapper was checked, so it should have been enabled. I tried toggling that, but it didn’t help.
Apparently, the sshd-keygen-wrapper was pointing at an old version or something? I had to go into System Preferences > General > Sharing and turn Remote Login off then on again, then go into System Preferences > Privacy & Security > Full Disk Access and re-enable sshd-keygen-wrapper.
I had a database corruption event happen in a Docker container, one result of which was that the container was completely wedged and unusable. I spent a lot of time removing containers and images and recreating them, only to have the same problem. In my case, the symptom was I’d create a new MySQL database, and operation would be fine, until part way through a bulk data import or heavy query, and the database would crash and the container would get into an unusable state again. Docker didn’t yield anything in the log, but MySQL showed corruption:
2024-11-27T22:35:38.182396Z 8 [ERROR] [MY-013183] [InnoDB] Assertion failure: os0file.cc:2899:dir_fd != -1 thread 140305764447808
InnoDB: We intentionally generate a memory trap.
InnoDB: Submit a detailed bug report to http://bugs.mysql.com.
InnoDB: If you get repeated assertion failures or crashes, even
InnoDB: immediately after the mysqld startup, there may be
InnoDB: corruption in the InnoDB tablespace. Please refer to
InnoDB: http://dev.mysql.com/doc/refman/8.0/en/forcing-innodb-recovery.html
InnoDB: about forcing recovery.
2024-11-27T22:35:38Z UTC - mysqld got signal 6 ;
Most likely, you have hit a bug, but this error can also be caused by malfunctioning hardware.
BuildID[sha1]=511ab47ad6d5dfd73d58eea5860b1c9c9a97ce07
Thread pointer: 0x7f9ad4000fc0
Attempting backtrace. You can use the following information to find out
where mysqld died. If you see no messages after this, something went
terribly wrong...
stack_bottom = 7f9b7b3febc0 thread_stack 0x100000
/usr/sbin/mysqld(my_print_stacktrace(unsigned char const*, unsigned long)+0x41) [0x15af021]
/...
Once this problem occurred in a container, the database wouldn’t be start-able, often complaining about being unable to update permissions on /var/lib/mysql/mysql.sock.
Eventually, with much futile searching, I found this posting and switched Docker Desktop away from using VirtioFS to using gRPC FUSE for sharing the filesystem between the container and the host machine. This seems to have resolved the issue. I can load big databases again, and heavy transactions work in my development environment again.
There’s gotta be a better way. But after a horrible upgrade process for a horrible commercial open-source product, I need to see which sub-directories from the old installation are missing in the new one. Don’t ask. I’ve literally been having nightmares about this upgrade.
Anyway, given tree1 and tree2 under some common point, I want a list of directories that exist in tree1 and don’t exist in tree2.
Here was my clumsy way of solving the problem.
cd tree1
find . -type d -print | sort > ../dirs_old
cd ../tree2
find . -type d -print | sort > ../dirs_new
cd ..
comm -23 dirs_old dirs_new