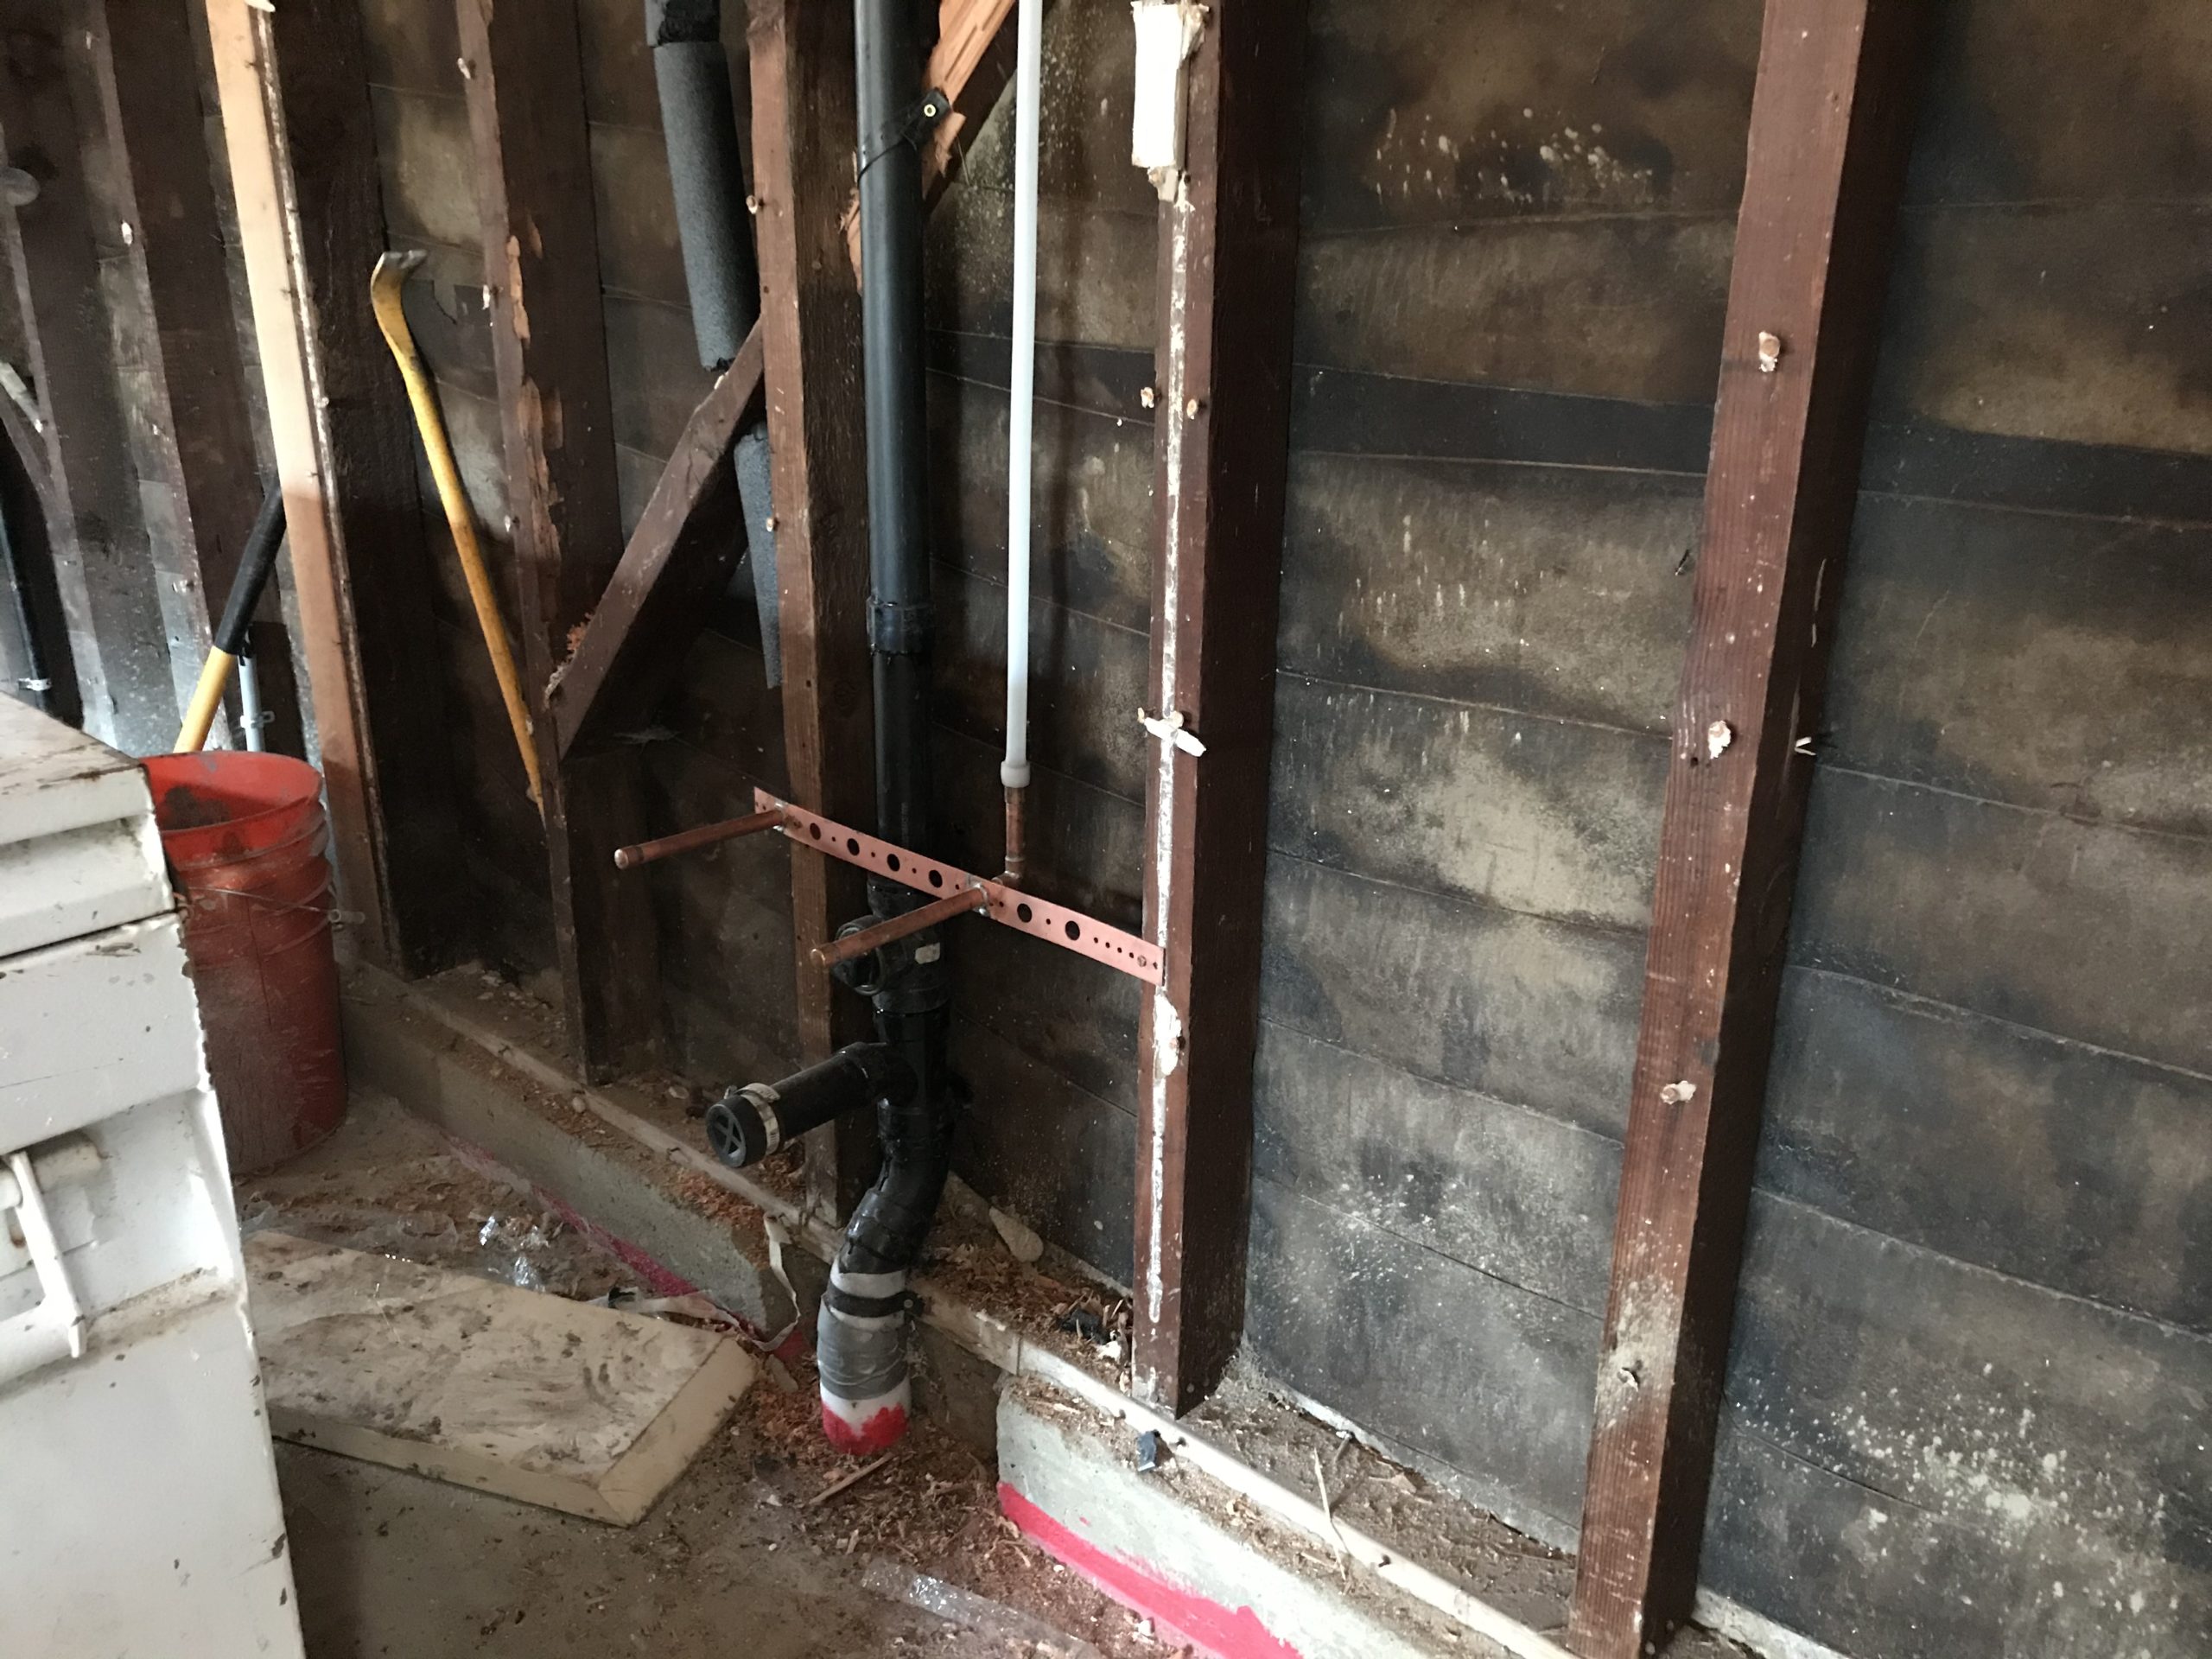
Over the past few work days, more has been done on the HVAC and the gas/water/sewer hookups. During the integration of the new sewer outflow with the existant pipes, it was unfortunately (or maybe fortunately) discovered that the existant pipes are badly corroded, not to mention chock full of roots. We’d been on a program of yearly cleanings because of root intrusion, but it became clear that this pipe, probably dating back to 1939, is probably in need of replacement.
So yesterday was partially spent trying to dig up and move the rose bushes from the areas where the new digging will happen.
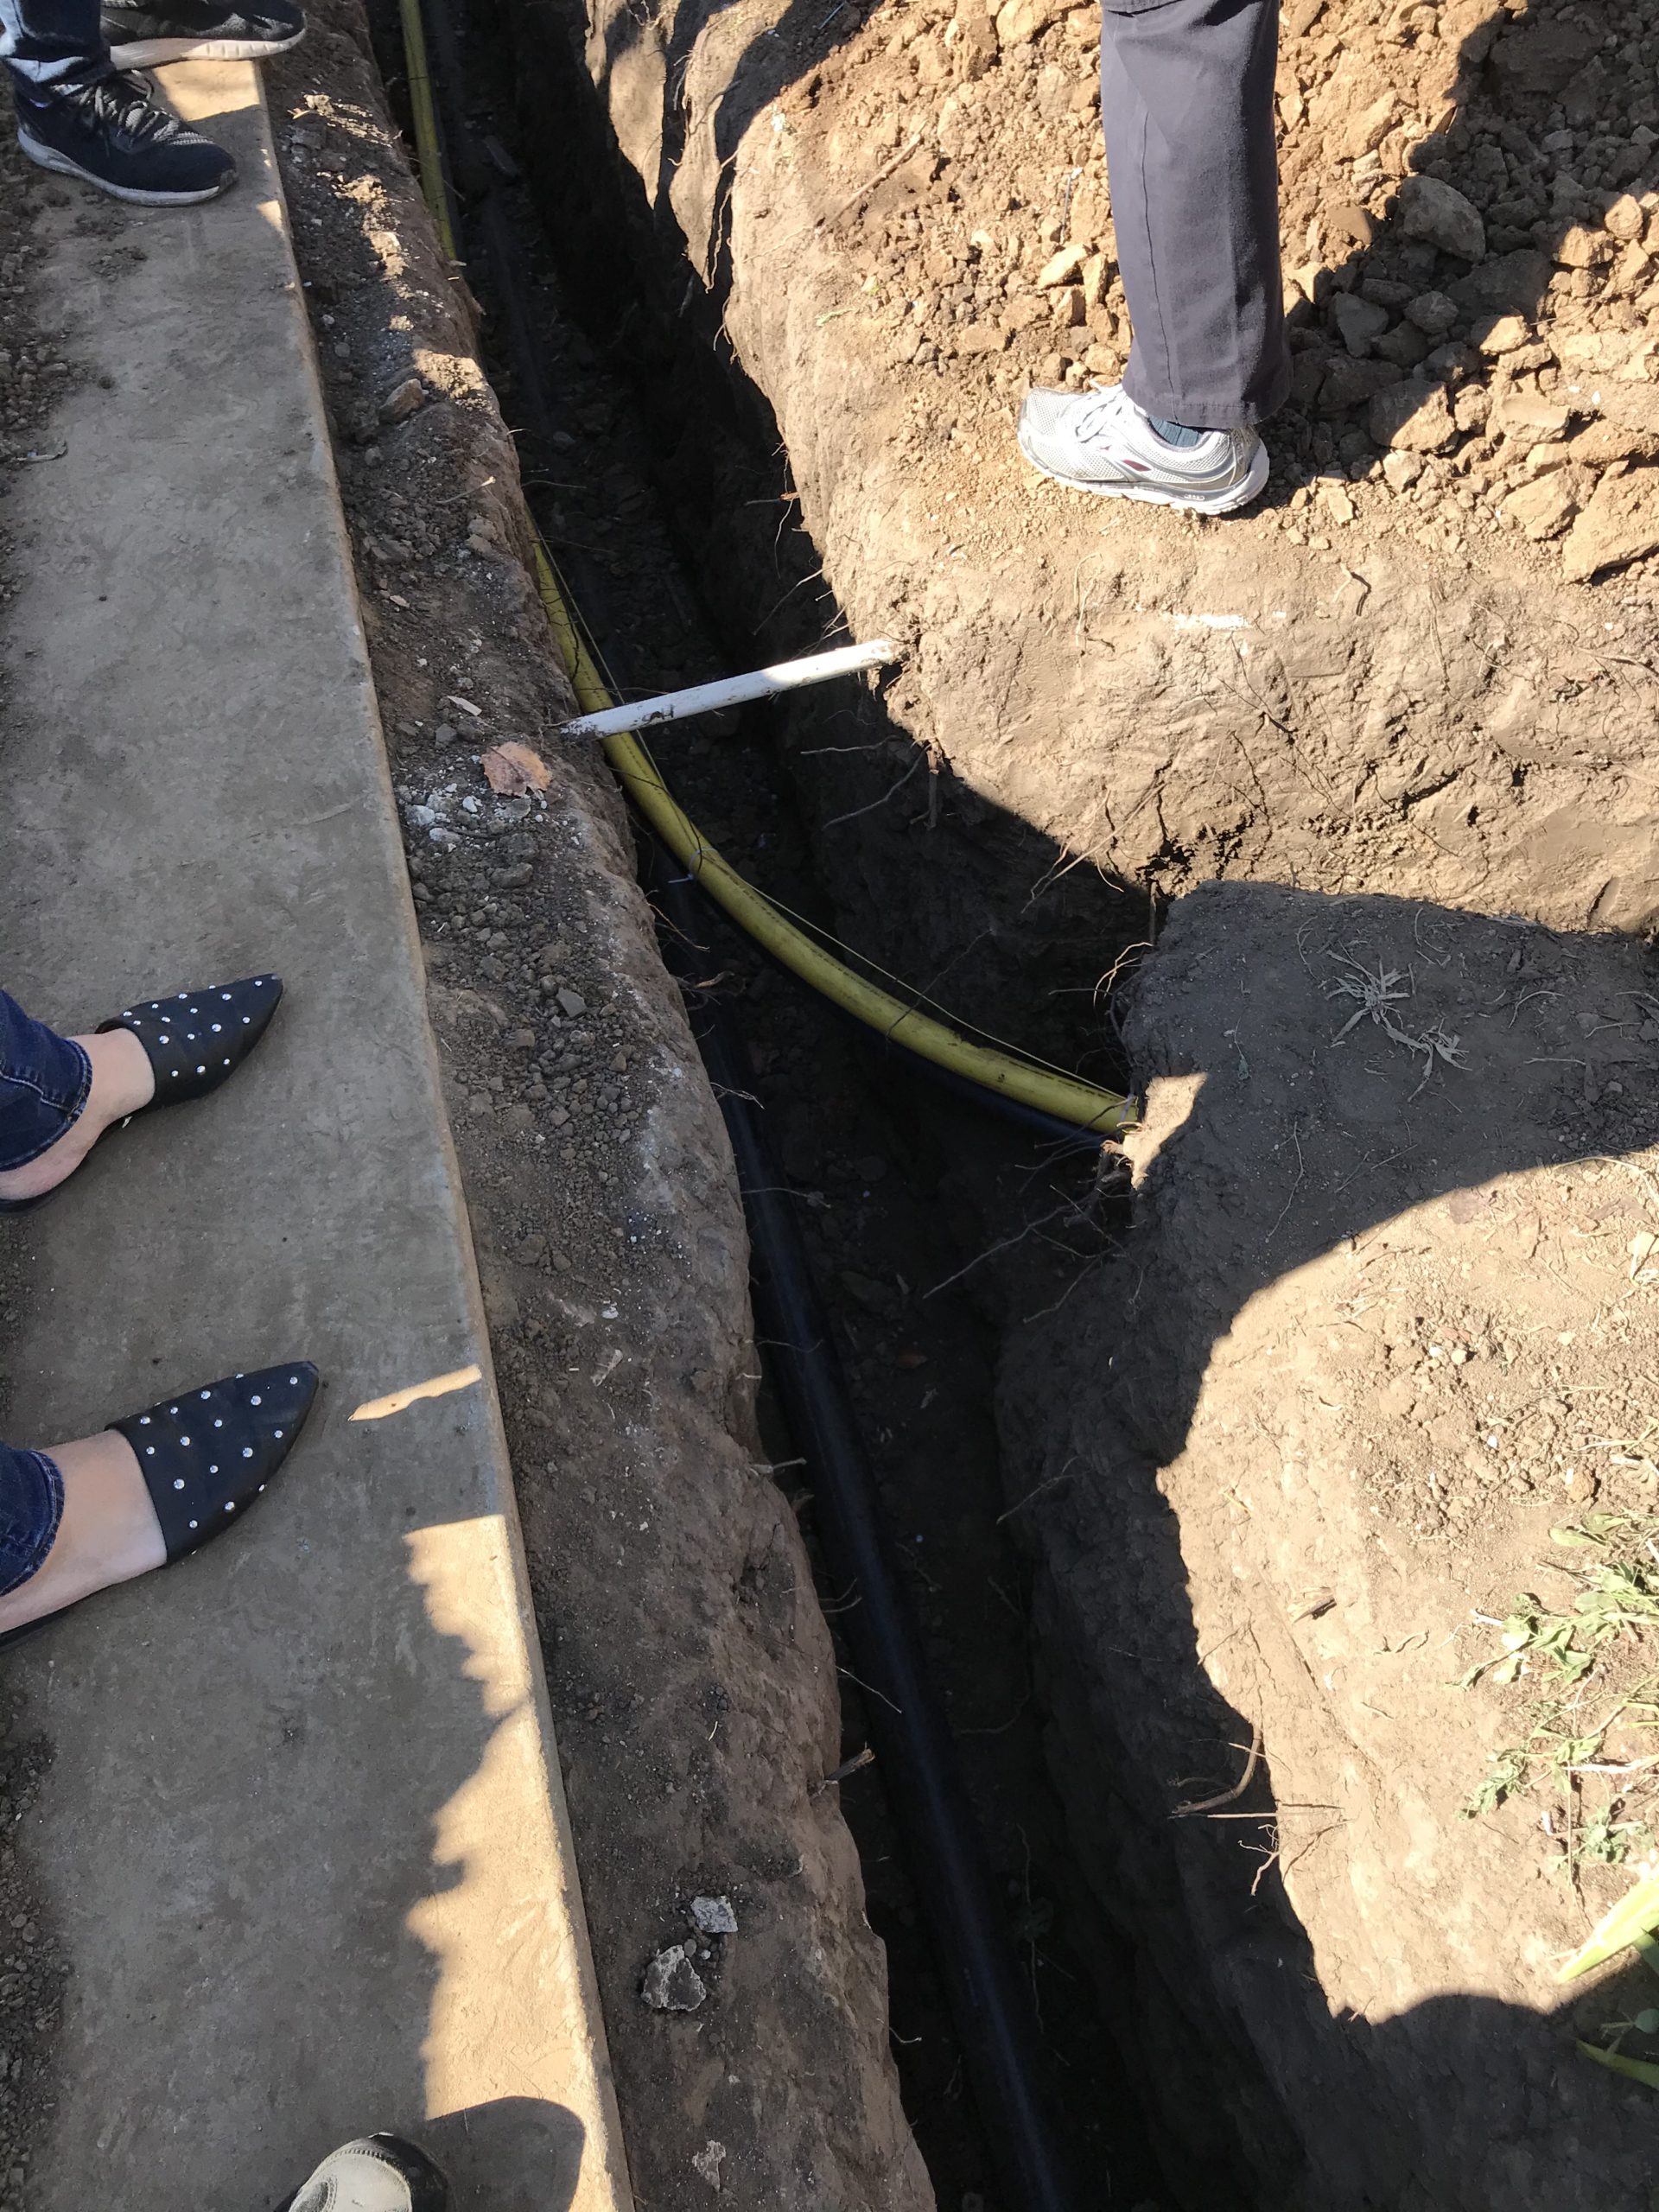
A lot of excavation in the front, getting ready to hook up gas and water. The plumber is working late, so I have no pictures from inside the structure again.
There could be rain tonight, so we’ll see what tomorrow brings.
Gas lines and trenches, and we’re not even talking WWI
There’s a lot of plumbing and electrical work going on, but the plumber is working late, and by the time I could get in there to take pictures, it’s too dark. Maybe I’ll get pictures tomorrow.
Extensive digging continues. Water hookup is scheduled for Friday. Sewer might be tomorrow, might be Friday. Gas should be around the same time.
So here are more pictures of the digging. There’s also one picture of the front yard from about a year ago that I snuck in just to see if anyone notices.